





















































Ride a Pet looks simple on the surface: mount a pet, find an egg, hatch it. But the players who actually build a strong plot are the ones who understand how the radar, the egg basket timer, Hatch Luck, and pet placement all connect to your cash income. This guide walks through that full loop so your first session doesn't stall out on guesswork.
Mount your starting pet, head to Rick's Shop and buy the Advanced Radar (around $50), then follow it to your first egg. Carry it home to your own plot before its break timer runs out, dismount, drop it in a nest, hatch it, and place the pet to start collecting cash. Spend that cash on Hatch Luck upgrades and better radars, then repeat the loop with rarer targets.
The Core Loop
Everything in Ride a Pet boils down to five steps, and you'll cycle through them constantly during a session:
Getting Your First Radar
You start with a basic pet, commonly a Snail, and while it's slow, it still beats running on foot, so mount up right away. Wandering the map hoping to trip over an egg is the slow way to play, and the gear shop's radars solve that problem almost immediately.
Mount your starting pet
The on-screen prompt spells it out directly: riding is always faster than walking, even on a slow starter pet.
Head to the shop area
Follow the floating stall labels, typically Gears, Track, Sell, and Food, along with a distance counter showing how far you have left.
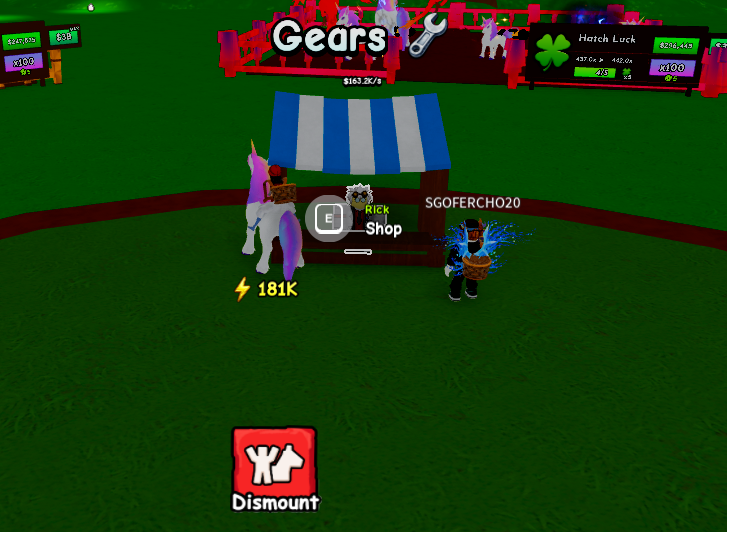
Buy the Advanced Radar
It's priced around $50 at Rick's Shop. The Jewel Radar and Royal Radar sit above it in the same list for later, and stock refreshes on a timer.
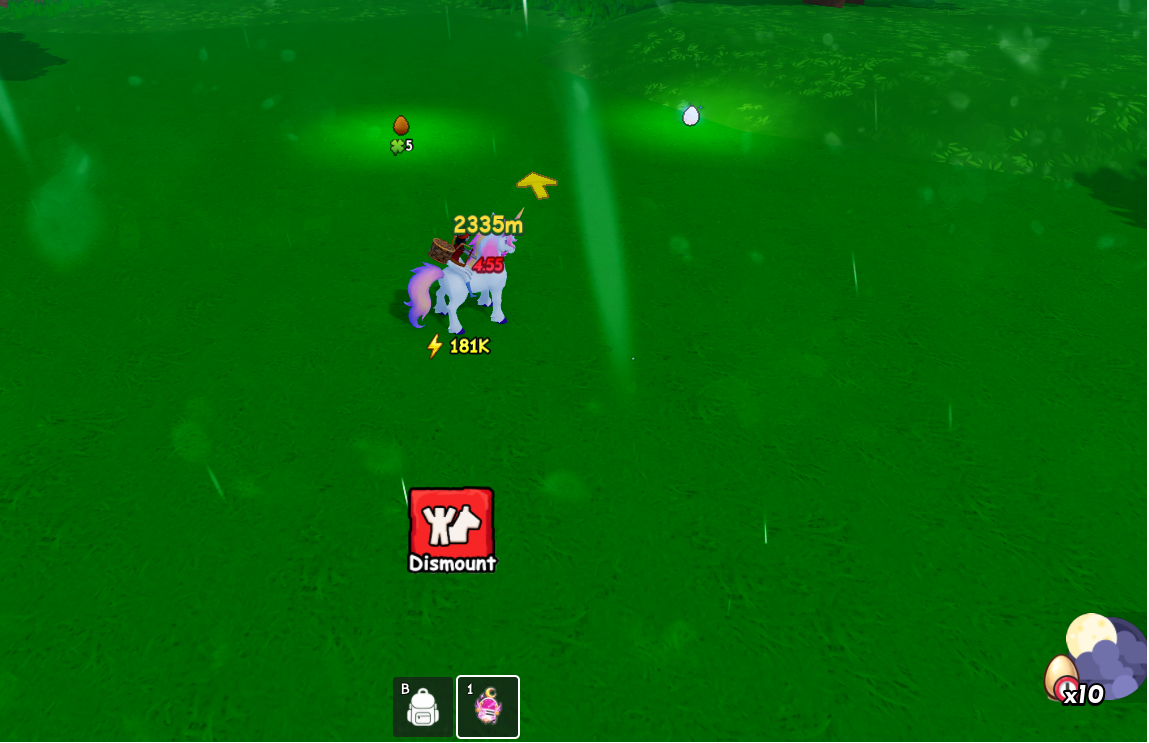
Activate the radar and follow it
It picks a target egg and shows the distance, which can run into the hundreds of meters for a rarer egg.
Grab the egg and watch the timer
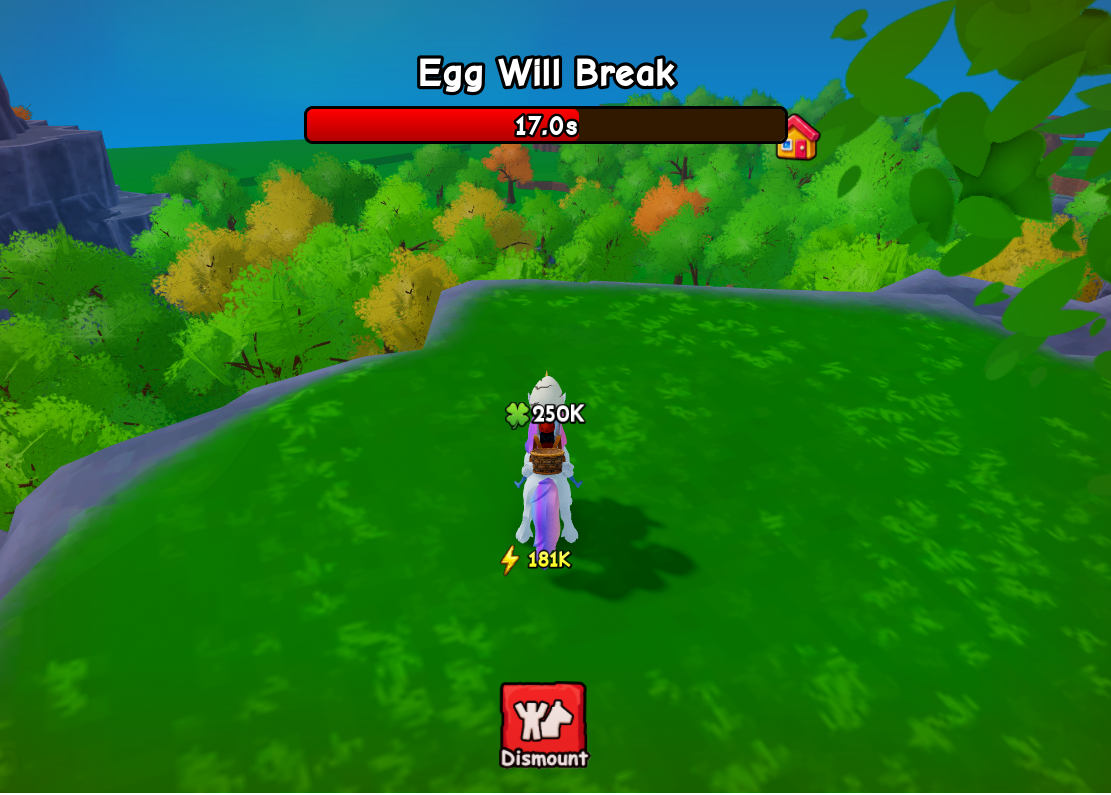
Picking it up starts a break timer, with a warning that appears as it runs down, so don't dawdle on the way home.
Hatching and Placing Pets on Your Plot
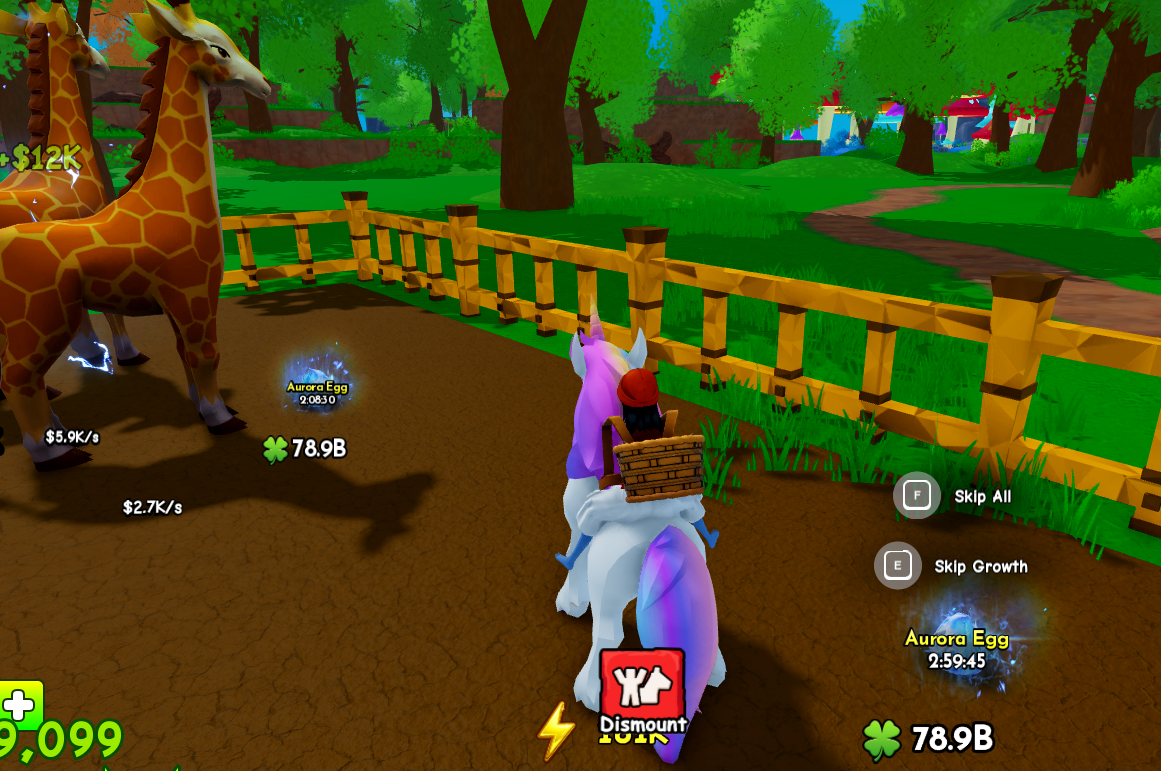
Eggs don't hatch out in the field. You have to bring them home to your own ranch plot, which is labeled with your username and holds your nests, your upgrade board, and every pet you decide to keep.
- Drop the egg into an open nest on your plot.
- Dismount your current pet, since the game requires you to be on foot before a hatch will start.
- Watch for the pet card that appears, showing the new pet's name and rarity, which confirms the egg was banked successfully.
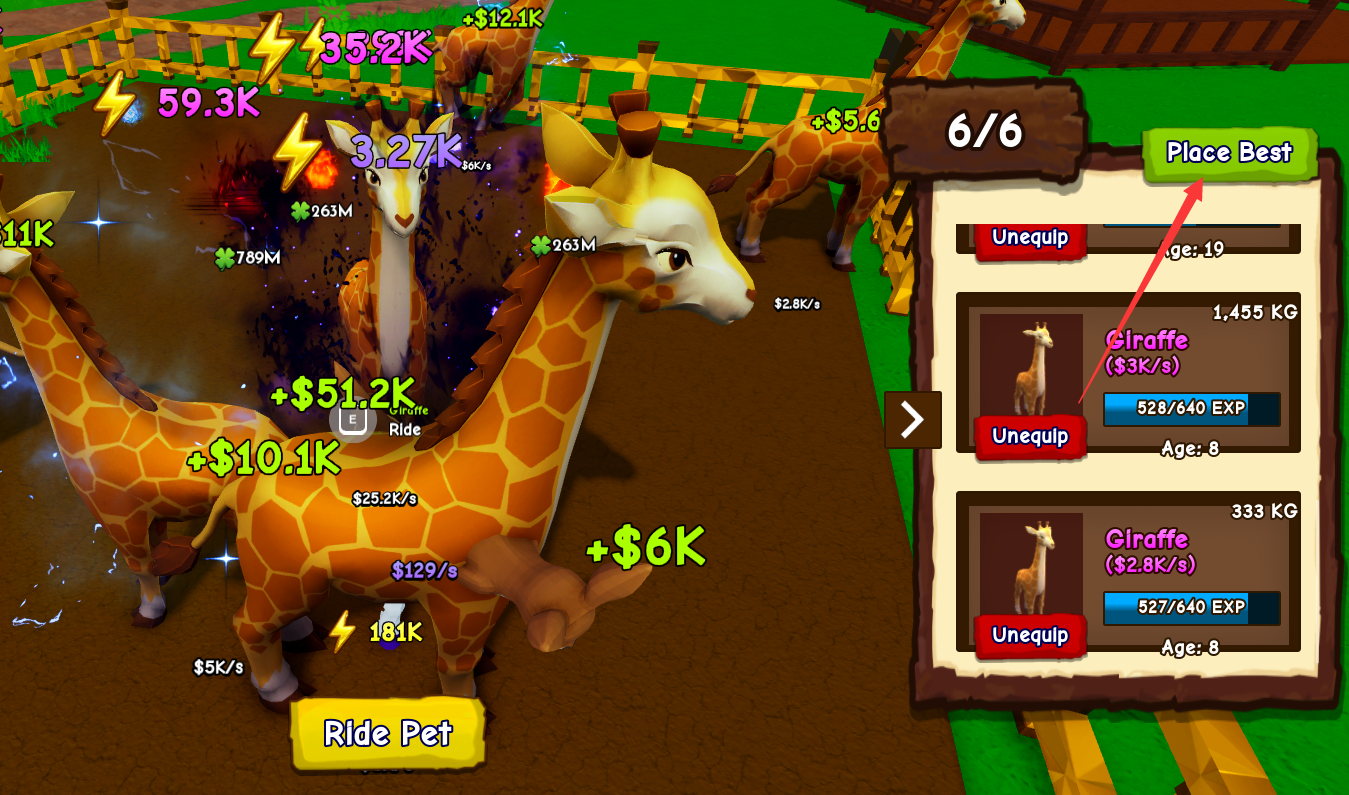
- Place the pet using the placement menu, or use the "Place Best" shortcut to drop your strongest pet without manually sorting your list.
- Touch each placed pet to collect the cash it has generated while sitting on your plot.
Why Rarity Actually Matters
Rarer pets aren't just cosmetic bragging rights. They generate meaningfully more cash per second while parked on your plot, which is the main reason upgrading your active pet beats stacking your plot with duplicates.
| Pet | Hatch Rarity | Cash Rate |
|---|---|---|
| Snail | Starter | $3/s |
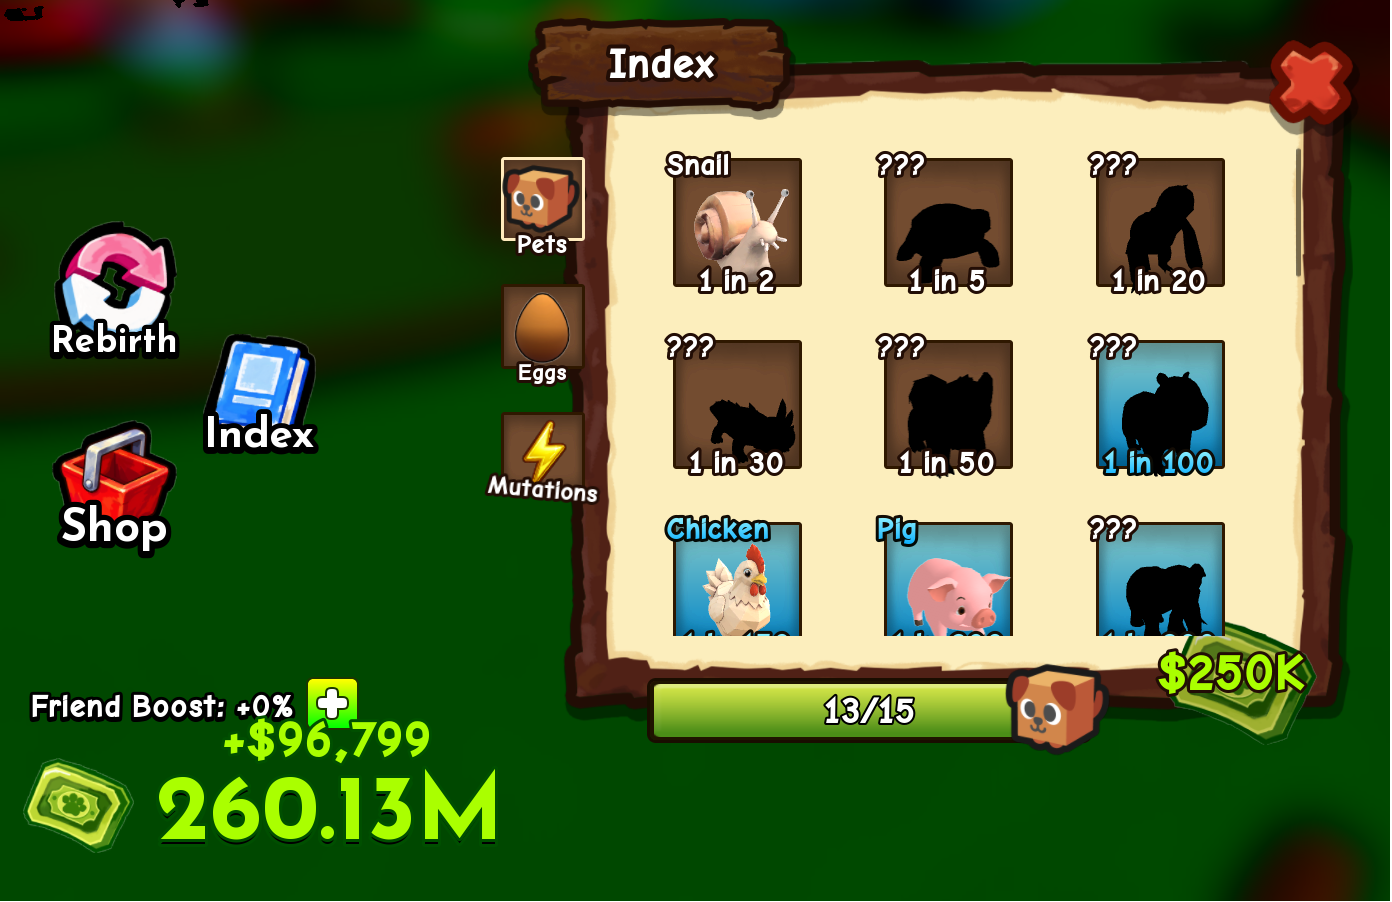
| Chicken | 1 in 150 | $42/s |
| Sloth | 1 in 20 | Varies by update |
The jump from a Snail to a Chicken is roughly a fourteen-fold income increase, which is exactly why chasing your next rarity tier pays off faster than filling every open nest slot with starters. Rarer eggs also come in named types beyond the basics, including a Dragon Egg and a Giant Egg.
Boosting Your Odds with Hatch Luck
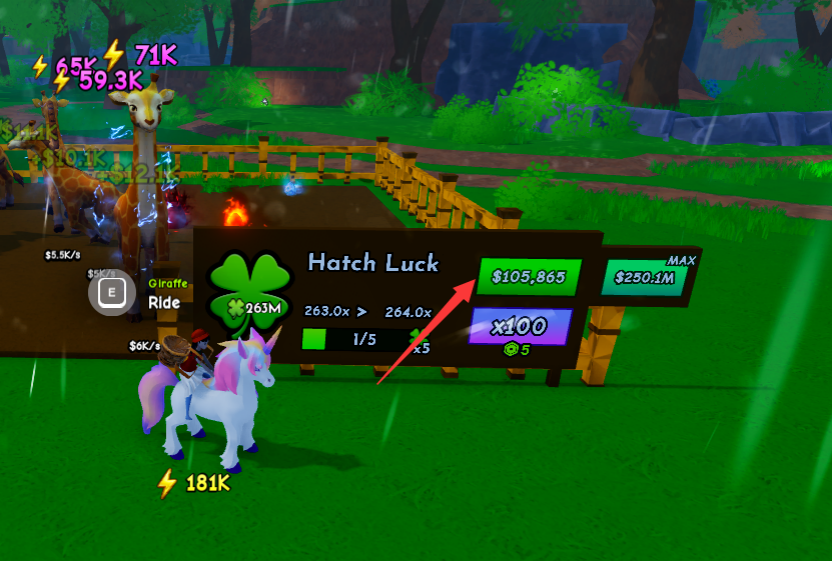
Hatch Luck is the stat that decides how often your eggs turn into something better than a basic starter pet. You raise it from the upgrade board on your own plot, spending cash for each level.
A good habit is to buy a Hatch Luck level before cracking open a fresh batch of eggs, not after. The multiplier only applies to future hatches, so timing the purchase ahead of a hatching session gets you more value for the same cash.
Feeding and Mutations
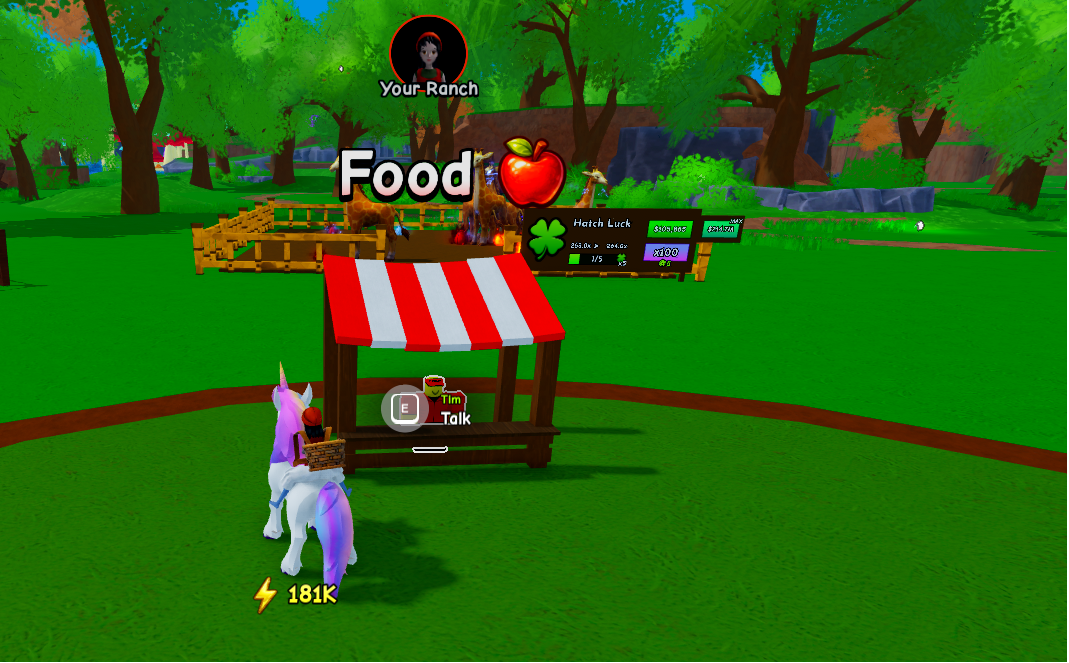
Food is the cheapest long-term investment in the game. Grass typically costs around $10 at the food stall, and feeding it to a pet grants a solid chunk of XP, letting your pets level up steadily even on a tight budget.
Pets can also pick up mutations that change how they perform. One example seen in the game is a "Shocked" status that doubles a pet's speed, which directly shortens future egg runs made on that pet. If a pet you already like lands a strong mutation, it's usually worth keeping over a plain higher-rarity pet with no bonus attached.
Rebirth, Shop, and Gift Menus
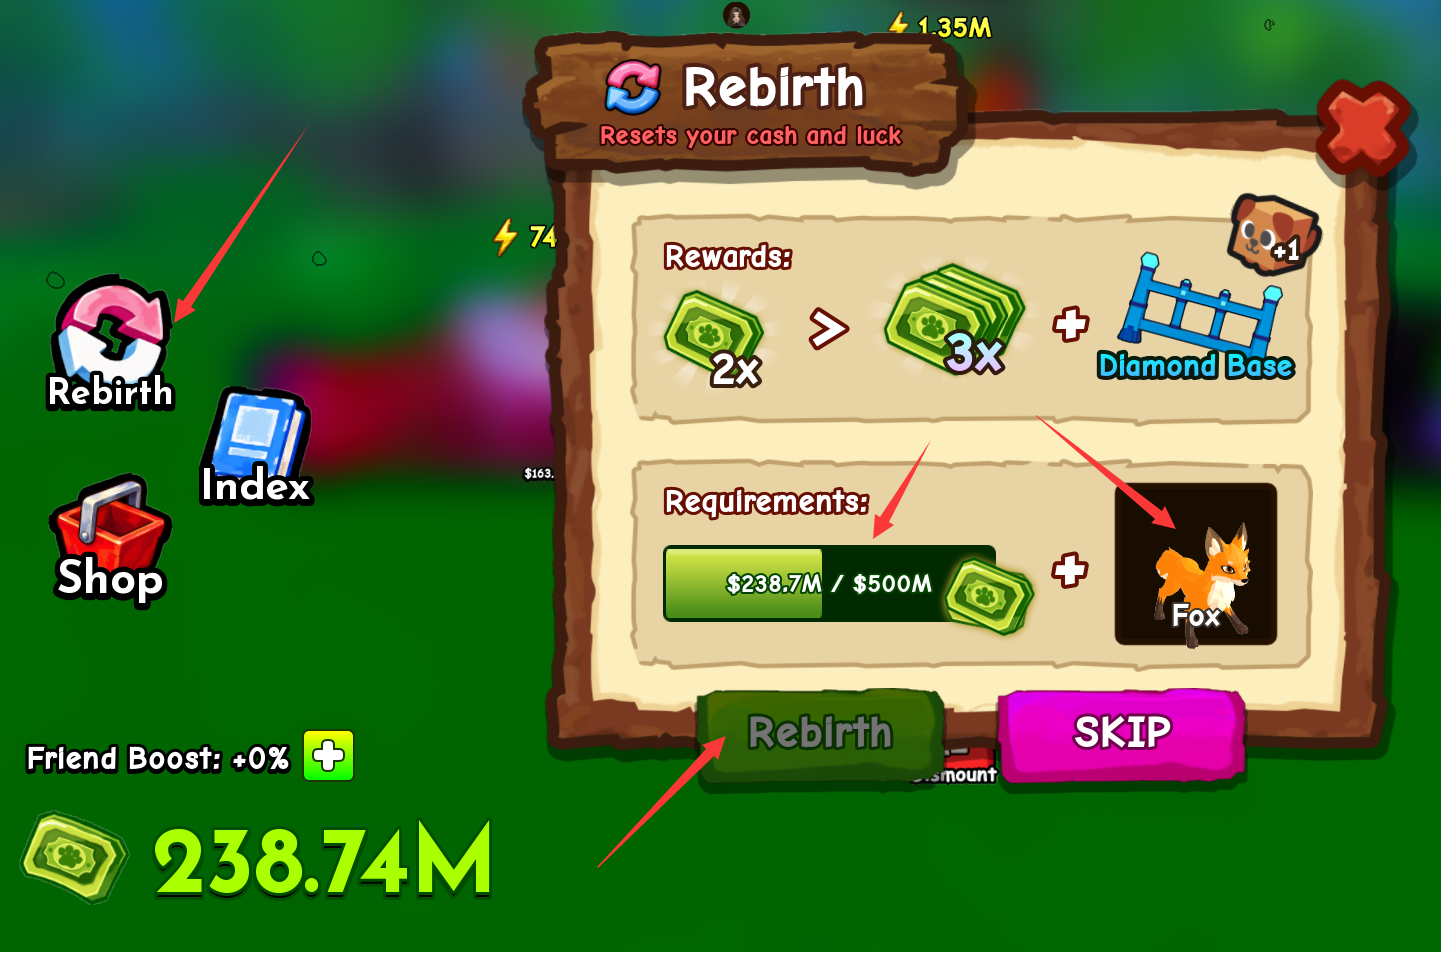
Three menus sit outside the main hatch-and-collect loop, and they're worth understanding before you commit hours to a single save.
| Menu | What It Does |
|---|---|
| Rebirth | Resets your current progress in exchange for long-term gains, with requirements listed directly on the plot screen. |
| Shop | Sells eggs and cash bundles for Robux, aimed at players who want a shortcut. |
| Gift | Ties free rewards to actions like liking the game and joining the developer group. |
Common Beginner Mistakes to Avoid
Hatching several common eggs early usually builds more cash and speed than gambling everything on one distant rare spawn.
A cluttered plot makes it harder to see and collect from your best earners. Move on from weak duplicates.
The Jewel and Royal radars exist for a reason. Delaying that upgrade means more wasted travel time later.
Manual claim rewards add up fast, especially early on when every dollar counts toward your next Hatch Luck level.
Joining with even one friend keeps nests active and speeds up early cash flow.
Ride a Pet Items at LOLGA
LOLGA does carry items, currency, and boosts across a wide range of Ride a Pet and other popular Roblox experiences. Worth a look next time you're grinding a different game and want to compare the free in-game grind against a store option.
Browse the LOLGA StoreFAQ
Do I need to buy the Advanced Radar to make progress?
No, but it removes almost all of the guesswork. Without a radar you're relying on line of sight to spot eggs, while the Advanced Radar points you straight at a target and shows the distance.
What's the actual difference between a pet's rarity and its cash rate?
Rarity is how hard a pet is to hatch, while cash rate is how much money it generates per second once placed on your plot.
Does feeding pets Grass actually matter, or is it just flavor?
It matters. Grass from the food stall costs a small amount of cash and converts directly into XP for the pet you feed it to, letting pets level up steadily even on a tight budget. It's one of the cheapest ways to grow your roster's value early on.
Should I rebirth as soon as the option appears?
Rebirth resets your current progress in exchange for a long-term multiplier, and the exact requirements are listed right on your plot screen. Read what you'll lose and what you'll gain before committing.